안냐세요
다시금 프로젝트를 갈아엎고 자신감을 얻은 3g입니다.
오늘은 나름 많은 기능을 추가했어요!
그럼 고고싱
1. 첫 화면 위치 지정
컴퓨터로는 내 위치를 받아올 수가 없기 때문에 기기 테스트 전까지는 내 위치인 역삼역을 첫화면으로 나오게 지정했다.
        // 첫 화면 위도와 경도 지정
        let initialLocation = NMGLatLng(lat: 37.4979, lng: 127.0365)
        // 카메라를 특정 위치로 지정
        let cameraUpdate = NMFCameraUpdate(scrollTo: initialLocation)
        // 카메라를 이동시키는 메서드
naverMapView.mapView.moveCamera(cameraUpdate)- NMGLatLng
- 특정 장소를 나타내는 클래스.
- lat와 lng에 각각 위도(latitude), 경도(longitude)를 입력.
- NMFCameraUpdate
- scrollTo 메서드를 사용해 지도 카메라를 특정 위치로 이동시킴.
- zoomTo 메서드를 추가로 사용해 줌 레벨(확대 수준)도 설정 가능.
- moveCamera
- NMFMapView에서 카메라를 이동시키는 메서드.
- cameraUpdate를 입력하여 원하는 위치와 설정을 적용.
2. 마커 표시
내가 만드는 앱의 주요 기능은 흡연 구역의 위치를 제공하는 것이기 때문에
임의로 마커를 생성해봤다.
(잠만 내가 이 앱 설명을 한 적이 있던가?!)
        // 마커 표시
        let marker = NMFMarker()
        marker.position = NMGLatLng(lat: 37.500920152198, lng: 127.03618231961)
        marker.mapView = naverMapView.mapView
3. 기능별 코드 정리
// MARK:를 사용해 기능별로 코드를 정리하고
viewDidLoad에는 해당 함수를 실행하기
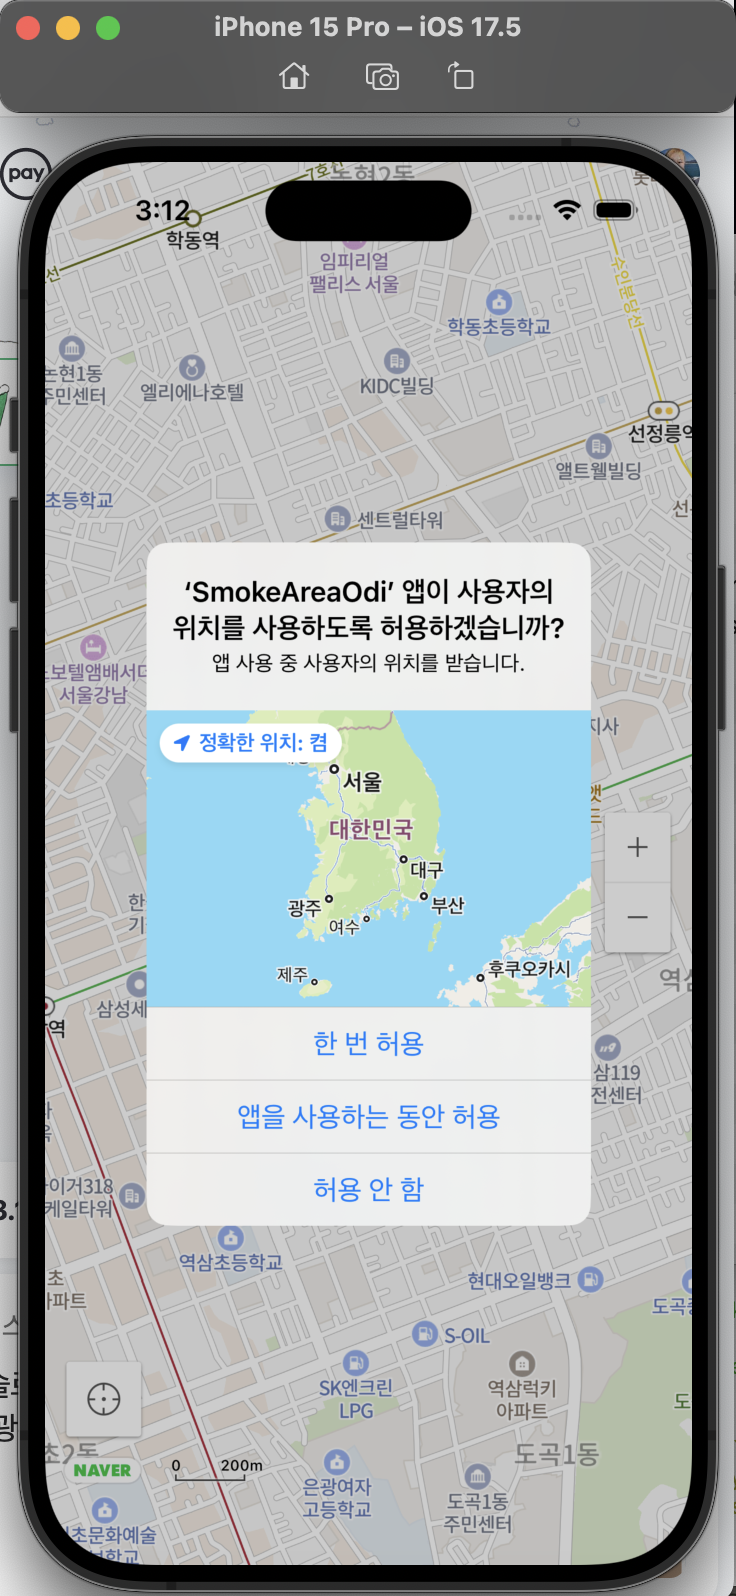
4. 사용자 위치 권한 설정
저번에 한 번 해봤던 사용자 위치 권한 설정!
이번에도 복붙은 마찬가지,,ㅎㅎ
사용자 위치 권한 요청 과정!
-> 허용
-> 위치 업데이트
-> 성공
-> 사용자의 위치 표시
-> 실패
-> 에러 메세지 출력
-> 거부
override func viewDidLoad() {
        super.viewDidLoad()
        setupNaverMap()
    }

        // NaverMapView 생성 및 추가
        setupNaverMapView()

        // 위치 권한 요청
        requestLocationPermission()
    }
// MARK: - Location Permission Methods
// 위치 권한 요청
private func requestLocationPermission() {
if CLLocationManager.locationServicesEnabled() {
locationManager.delegate = self
locationManager.desiredAccuracy = kCLLocationAccuracyNearestTenMeters
locationManager.requestWhenInUseAuthorization()
}
}
// MARK: - CLLocationManagerDelegate
// 위치 권한 상태 변경 시 호출되는 메서드
func locationManager(_ manager: CLLocationManager, didChangeAuthorization status: CLAuthorizationStatus) {
switch status {
case .authorizedWhenInUse, .authorizedAlways:
// 권한이 허용된 경우 위치 업데이트 시작
locationManager.startUpdatingLocation()
case .denied, .restricted:
// 권한이 거부된 경우 사용자에게 알림
showLocationPermissionAlert()
default:
break
}
}
// 위치 권한을 거부했을 때 알림
private func showLocationPermissionAlert() {
let alert = UIAlertController(title: "위치 권한", message: "위치 권한을 허용해주세요.", preferredStyle: .alert)
alert.addAction(UIAlertAction(title: "확인", style: .default, handler: nil))
self.present(alert, animated: true, completion: nil)
}
// 위치 업데이트가 있을 때 호출되는 메서드
func locationManager(_ manager: CLLocationManager, didUpdateLocations locations: [CLLocation]) {
if let currentLocation = locations.first {
// 사용자 위치를 가져와서 지도에 표시
let lat = currentLocation.coordinate.latitude
let lon = currentLocation.coordinate.longitude
// 카메라를 사용자의 현재 위치로 업데이트
let currentPosition = NMGLatLng(lat: lat, lng: lon)
let cameraUpdate = NMFCameraUpdate(scrollTo: currentPosition)
naverMapView.mapView.moveCamera(cameraUpdate)
// 마커 표시
let marker = NMFMarker()
marker.position = currentPosition
marker.mapView = naverMapView.mapView
}
}
// 위치 업데이트 실패 시 호출되는 메서드
func locationManager(_ manager: CLLocationManager, didFailWithError error: Error) {
print("위치 업데이트 실패: \(error.localizedDescription)")
}
오늘은 여기까지!
다음 시간에는 사용자의 입력에 따라 마커를 표시하는 기능을 구현해볼게요
스토리 보드의 세계로,,,
'iOS > 흡구오디 -> 어딨쥐' 카테고리의 다른 글
| [흡구오디] 내가 만들고 싶은 앱을 설명해봐요 (1) | 2024.12.26 |
|---|---|
| [앱 만들기] 지도 위에 버튼 올리기 (1) | 2024.12.26 |
| [앱 만들기] 클론에 실패하여 다시 시작 그리고 복습 (1) | 2024.12.23 |
| [앱 만들기] 위치 권한 승인에따른 상태 처리하기 (0) | 2024.12.17 |
| [앱 만들기]내 현재 위치 표시하기...를 시작하기 (1) | 2024.12.16 |

댓글